We began planning this Dining In menu well before the historic flood of 2016. Our thoughts at that time were of fall entertaining, football and Halloween. Since then, our lives in south Louisiana have been turned upside down, and so many are still dealing with the long, painful aftermath of this disaster. So instead of preparing this warm, tasty meal to bring to a fall party or a tailgate, we suggest taking it to someone who is recovering from the flood or still staying with relatives and friends, or even as a thank-you to volunteer workers.
Nothing means more to people than the simple gift of a good meal in times of need. Taking the time to cook for others is the ultimate way to let them know you care.
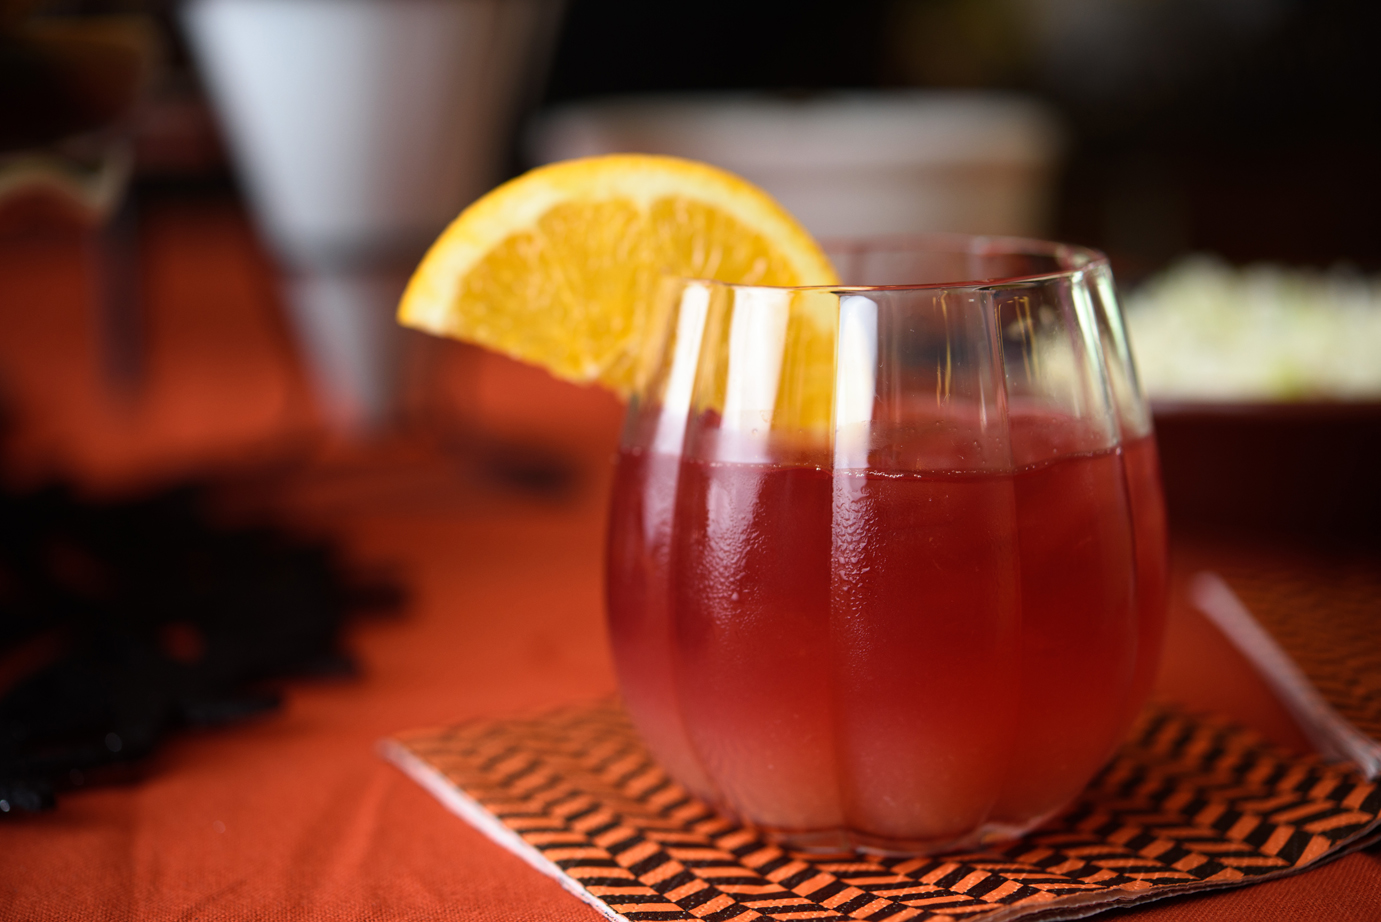
Spiced Rum and Cranberry Cocktail
|
|
|

Cranberry juice is a perfect mixer in many cocktails because of its tart, crisp flavor. In this recipe, it is paired with a little spiced rum to complement the Caribbean flavors of the Jerk Pulled Pork—and the combination is delicious. This is a well-balanced drink that is perfect to sip on after a hard day of cleanup.
Yields: One 7-ounce cocktail
1 ounce dark spiced rum
2 ounces fresh orange juice
4 ounces cranberry juice
Fresh orange slices to garnish
1. Fill a cocktail glass with ice.
2. Pour in the rum. Add the orange and
cranberry juices.
3. Stir to combine. Garnish with a fresh
orange slice.
Jerk Pulled Pork

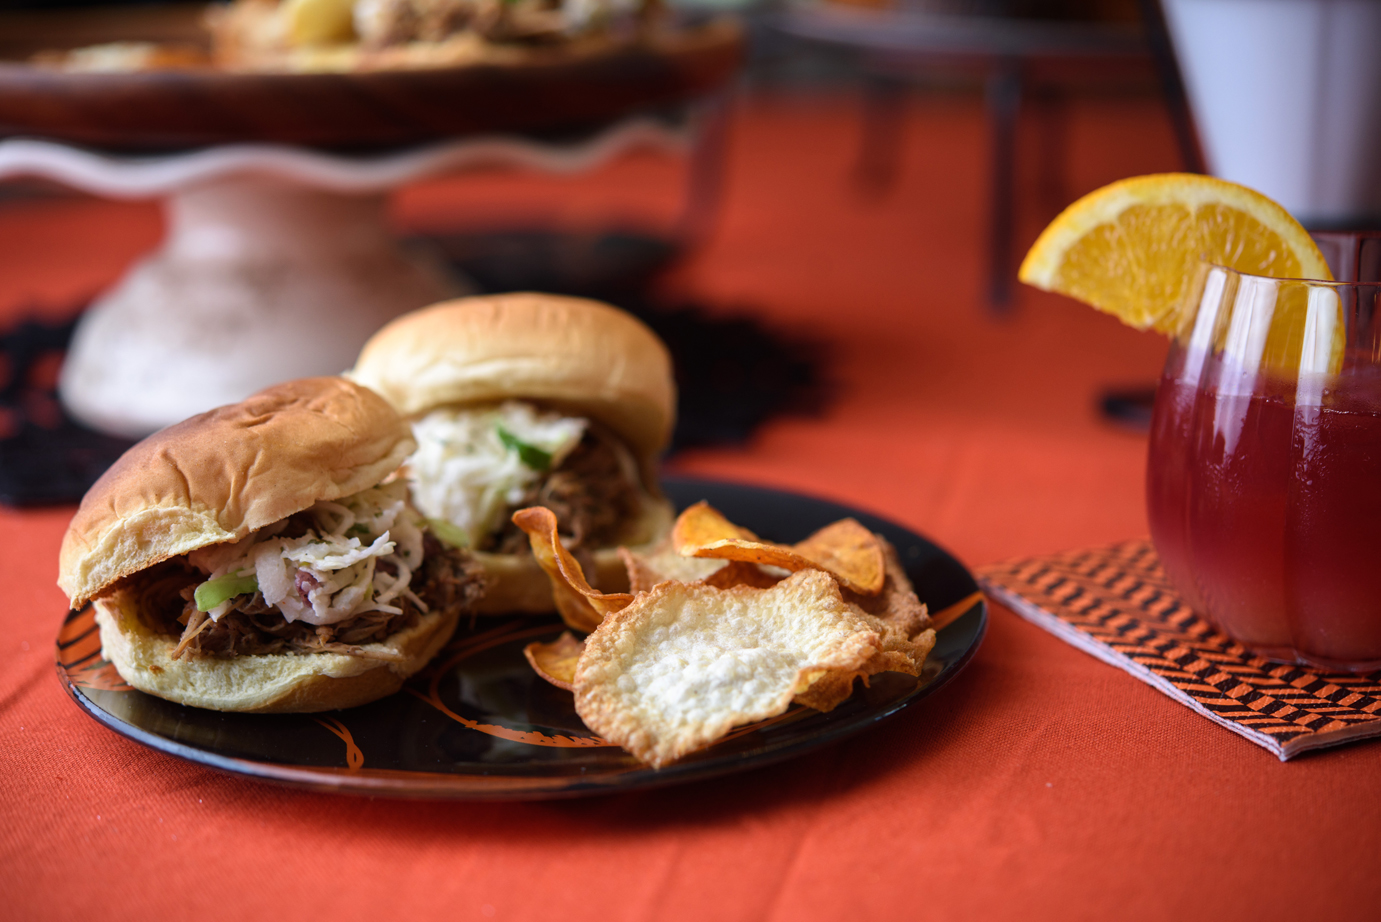
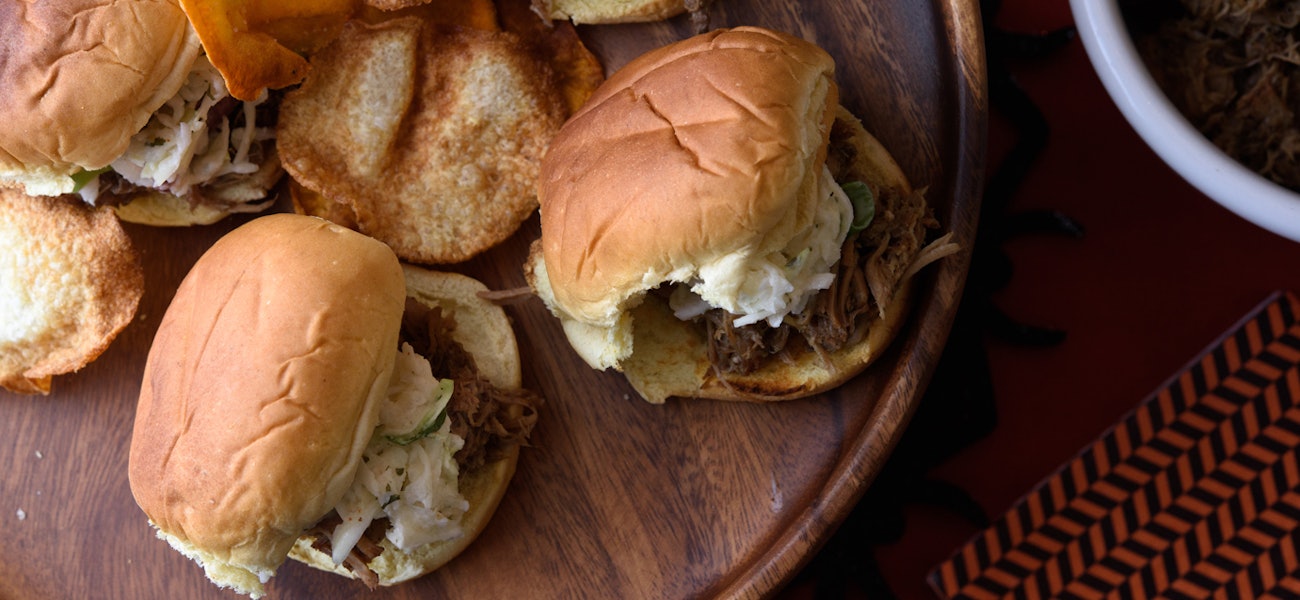
The flavors in this jerk marinade are a perfect marriage to the natural sweetness in pork. The jalapeños give it heat, the red pepper flakes and fresh ginger give it a little kick, the sweet apple jelly and the tang of the cider vinegar help to balance it all out. But it’s the cinnamon, cloves and allspice that give this dish its signature jerk flavors. This dish feeds a crowd, so it is ideal to take to others who need a break or a little help with meals. It is delicious as a main course along with sides, but it makes great sandwiches, too. Pair it with the crisp and tangy jicama slaw recipe found at 225batonrouge.com/food for delicious and easy jerk pulled pork sliders.
Servings: 6
3- to 4-pound boneless pork shoulder roast
½ bunch green onions, tops and bottoms, coarsely chopped
4 cloves of garlic
2-3 jalapeño peppers, seeded and coarsely chopped
2 tablespoons peeled fresh ginger
2 teaspoons salt
¼ cup apple cider vinegar
½ cup apple jelly
1 teaspoon allspice
1 teaspoon cloves
1½ teaspoons cinnamon
1 teaspoon crushed red pepper flakes
1 teaspoon dried thyme
1½ teaspoons dried ground ginger
1 teaspoon nutmeg
1½ cups low-sodium chicken broth
1. Trim the fat off the pork shoulder and cut it into a couple of pieces to make sure it will fit into a slow cooker. Place the pork into a large gallon freezer bag.
2. In a food processor or blender, place the green onion, garlic, jalapeño, ginger, salt, vinegar and apple jelly. Blend until smooth.
3. In a small bowl, combine the remaining dry spices until well blended. Rub the dry spice mixture all over the pork to coat it completely, and put it back into the freezer bag.
4. Pour the wet marinade over the pork and seal the bag. With the bag sealed, rub this mixture all around to make sure it completely covers the pork. Place the pork in the refrigerator. Allow this to marinate at least 3-4 hours or overnight.
5. Place the pork along with the marinade into your slow cooker. Pour the chicken broth over the top. Stir everything around to make sure the broth gets to the bottom of the slow cooker.
6. Cover and set the slow cooker on high. Cook the pork 6-7 hours, or until the pork is very tender and easy to shred.
7. Carefully remove the pork from the slow cooker, and place it onto a large cutting board. Gently shred it with a fork. Set it aside.
8. Using oven mitts, pour the remaining liquid out of the slow cooker through a strainer into a saucepot. Skim off the fat from the top of the liquid.
9. Bring the liquid to a boil and then reduce the heat to a simmer. Simmer the liquid 5-6 minutes or until it begins to reduce down a bit.
10. Place the pulled pork back into the slow cooker and pour the reduced liquid back over the pork. Keep the cooker on low or warm until you are ready to serve. Serve on toasted slider rolls topped with jicama slaw (recipe online).
Sweet Potato and Jicama Chips

If you’ve never attempted to make homemade chips, here is your chance. These crispy, salty snacks are addictive, to say the least. Jicama is nutty and slightly sweet, with a flesh similar to an apple or potato. These chips aren’t difficult to make, and they are worth the little effort you will need to put forth. This recipe works just as well with potatoes, beets, carrots or parsnips. We do recommend using a mandoline to help in making uniform thin slices and a thermometer to help you maintain the proper temperature of the oil.
Servings: 6
3 large sweet potatoes
3 jicamas
1 quart (4 cups) vegetable or canola oil
Salt or Creole seasoning to taste
1. Peel the sweet potatoes and jicama. Using a mandoline slicer on the smallest setting, slice the sweet potatoes and jicama into very thin slices.
2. Pour the oil into an electric fryer, or use a heavy deep skillet or Dutch oven. If using a fryer, set the temperature to 375 degrees. If using the skillet, use a thermometer to make sure you reach the proper temperature.
3. Line a large bowl with paper towels to be ready when it is time to drain and season the chips.
4. Working in small batches, drop the slices of sweet potatoes and jicama into the hot oil. Using a mesh strainer, gently stir the chips to prevent them from sticking together while frying.
5. Fry the chips 4-6 minutes or until they become golden. Scoop them out with the mesh strainer and place them into the bowl.
6. Sprinkle them lightly with salt or Creole seasoning. Gently shake the bowl around to help the chips drain and cool. Place the chips onto a baking sheet to continue the cooling process.
7. If you happen to have any chips left over, store them in an air-tight container for a couple of days.
Maggie’s Scary Good Candy Bar Cupcakes

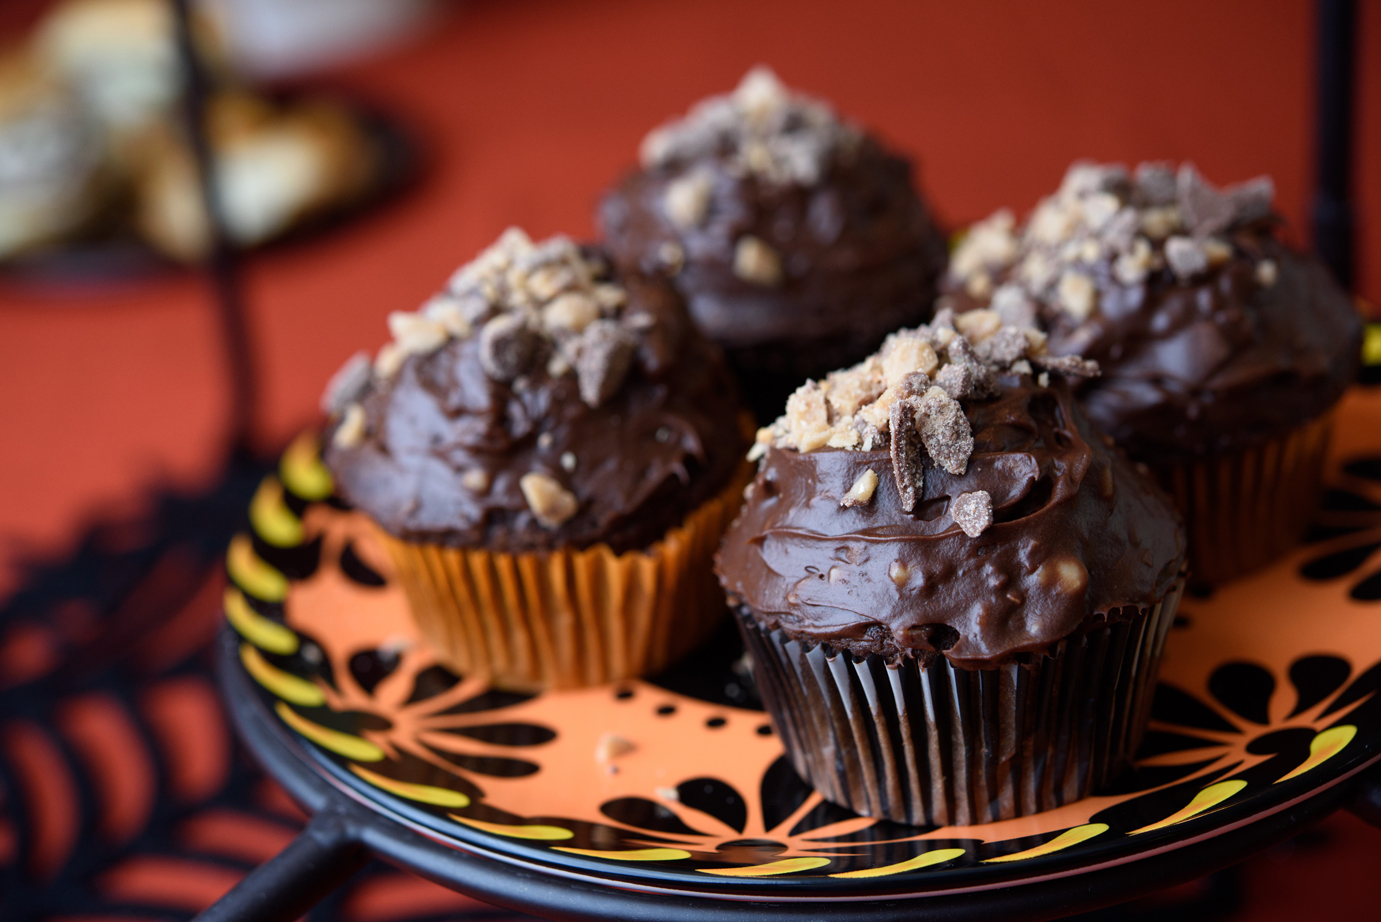
During this time of disaster recovery, it may seem almost frivolous to think about making cupcakes. However, some of the people who have been affected the most are children, and nothing can bring a smile to a child’s face like a cupcake. Tracey’s daughter Maggie has perfected this easy homemade chocolate cupcake recipe. It is as simple as making a box cake, but the consistency and the flavor are much more homemade. The chocolate buttercream icing is rich and delicious. Depending on the type of candy bars you choose to fold in, you can take the flavor in a number of directions. We like to use crushed Heath bars or Butterfingers. If using candies with peanut butter or nuts, be mindful of those with nut allergies.
Yields: 1 dozen
For the cupcakes:
1 cup flour
1 cup original Aunt Jemima pancake mix
5 tablespoons unsweetened cocoa powder
2 teaspoons baking powder
½ teaspoon cinnamon
½ cup brown sugar
1⁄3 cup white sugar
1⁄3 cup vegetable oil
1 egg
1 cup milk
1 teaspoon vanilla
1. Heat the oven to 350 degrees. Line a muffin tin with 12 liners.
2. In a large bowl, sift together the flour, pancake mix, cocoa powder, baking powder and cinnamon until well combined. Add in the brown and white sugar, and set this mixture aside.
3. In a separate bowl, whisk together the oil, egg, milk and vanilla. Fold the wet into the dry ingredients until all is well blended, making sure not to overmix the batter.
4. Divide the batter into the muffin tins. Bake 14-18 minutes or until a tester comes out clean when inserted into the center of one of the cupcakes. Remove the cupcakes onto a cooling rack. Allow them to cool completely before icing them.
For the icing:
1 stick butter
2 ounces semisweet chocolate
½ cup unsweetened cocoa powder
1 box powdered sugar
1 tablespoon vanilla
½ cup milk
1½ cup crushed candy bars of choice
1. In a saucepot, heat the butter and chocolate together, stirring constantly until all is melted. Add in the cocoa powder and whisk until smooth.
2. Pour the chocolate mixture into a large mixing bowl. Sift the powdered sugar into the melted chocolate.
3. Using an electric mixer on the lowest setting, begin beating the sugar into the chocolate.
4. Slowly pour in the milk and vanilla while the mixer is going, scraping down the sides as you go until all is incorporated and the icing is smooth.
|
|
|
5. Remove the mixer and use a spatula to fold one cup of your favorite crushed candy bar (or bars) into the icing.
6. Use a small offset spatula or flat knife to ice the cupcakes. Top each cupcake with the extra half cup of the crushed candy bars. Keep the cupcakes in an air-tight container until you are ready to serve.
This story was originally published in the October issue of 225 Magazine.


